

Before we start, the Get Your Knit ON competition is up at Bluegingerdoll. If you’re so inclined, mosey over there and vote for your favourite make.
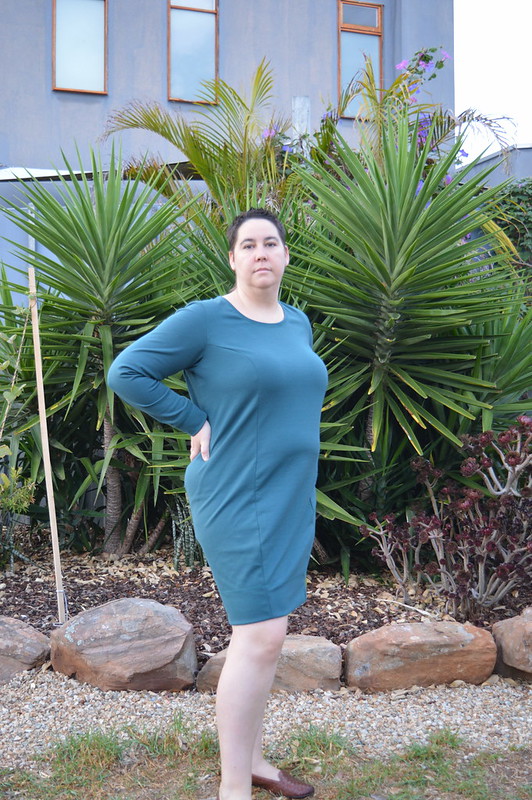
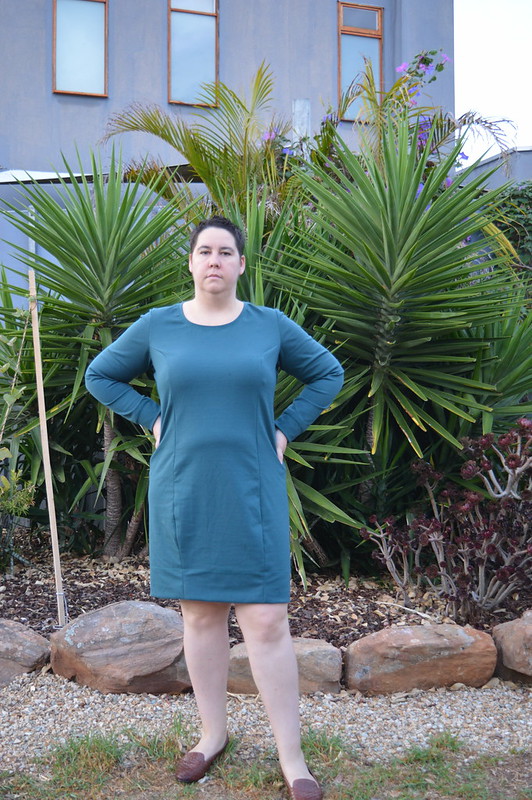
Continuing in the theme of knit dresses (I love them. They don’t have darts to get all pointy or ANYTHING), I made a Jasper sweaterdress, from Paprika Patterns. The designer/model has such a different bodyshape from me, and the look of it on her is something I love but have accepted I will never achieve in the same way. So I probably wouldn’t have put it on my ‘to sew’ list except that I saw Gillians’ version at Crafting a Rainbow version and fell in love.
I had some rayon ponte from Spotlight that I’d bought when it was on special. I was planning to make a plain straight skirt, but I bought two metres of it and it’s 150cm so there is a LOT of fabric. I have no idea why I thought I would need that much. I bought some black at the same time, to make a ¾ circle skirt (as yet unmade) and I guess I just bought the same amount for both without thinking. The ponte is nice and dense, although it is something like 90% polyester, so it’s also a bit shiny and weird, in the way that oil-based fabrics are. But the rayon does take the edge off. It was really nice to sew with, I have to say. The pattern calls for a heavy ponte or thicker, and this worked pretty well, I think.

Anyhow, the dress. It comes with really thorough instructions on how to pick a size – the smaller sizes are drafted for a B cup and the larger ones for a C cup. I’m a DDD or an E, so obviously I knew I would need to do something about that, but luckily Paprika patterns also provides some excellent instructions for adjustments. There are also details on which pattern pieces you need to print for which version but I got overwhelmed and just printed them all. It wouldn’t be that hard to spend five seconds thinking about it but there you go. Anyway, it means that if you know you just want to make the jumper with the hood for example, you don’t ALSO have to print all the length of the dress and the collar, and wrangle that paper. I really appreciate the thought that went into making this pattern easy to access and use.
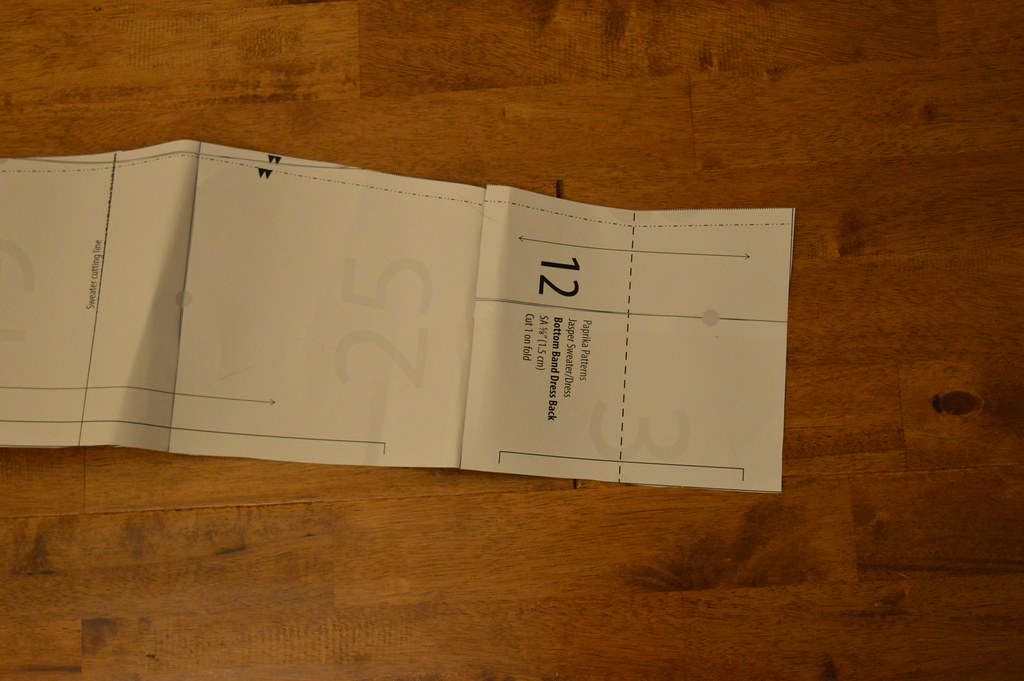
It was a nice pattern to tape together – I generally don’t mind taping but sometimes you get patterns that make it hard. This one was simple. It had circles to match up the sides and I found it much easier to make sure the circles were round rather than that triangles met each other, or other systems I’ve seen. Also the pieces are laid out sensibly so even though I didn’t selectively print, I could cut pieces off as I went. It took me maybe an hour to tape together, and I was going slow because I basically only ever tape patterns together when I am too tired and useless to do anything actually creative.

I cut it out the next day, when I was home from work with a migraine. That’s how nice and simple this pattern is, I could even sew it with a migraine. I did the FBA then, too. It’s a freaking MIRACLE I made it through that. Thankfully, the tute was extremely clear, and it links to Mary’s tute which I needed, because I did a 2.5” FBA and ended up with a weird, ripply, 3D piece of paper. I almost cried but then Mary was to the rescue and taught me how to straighten it out. I think this was probably great practice for doing a princess seam FBA on a woven – I figured this one’s a knit so it would be a bit more forgiving if I fudged things while I worked out what I was doing. The FBA has lots of steps and looks complicated but is actually one of the easiest adjustments I’ve ever done. I’d say it’s easier than an FBA on a darted bodice, even. Just a bit more mind bending trying to think about it.
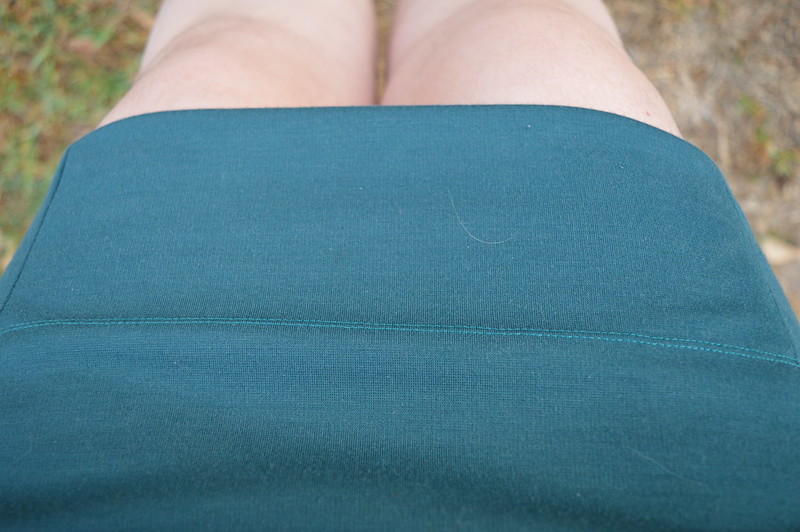
My high bust is exactly 41.5”, and my full bust is 46” so I cut a size 7 and did that 2.5” FBA – probably a bit generous of an FBA for my measurements, but it turned out well. I also folded the back piece in so that the centre back tapered up – I still cut it on the fold but it meant there was basically a built-in dart for my dowager’s hump (such an attractive term, no? JOKES ON THEM you have to have been married to be a dowager. Ha HA!!), basically the no-seam, pre-cutting version of the back adjustment I did on my Violet. I left the pockets off because I wanted to see how the fit was first, and also I was hoping to get a dress I could wear to work on those days when you just can’t be bothered and it’s cold and you’d rather stay in pyjamas, but you don’t actually want to LOOK like you can’t be bothered. I thought pockets would make it more casual. I also taped the bottom band pattern to the bottom of the pieces, and cut them together [get photo], again because I thought it would make it look a bit more casual than I was after.
I always knew I wanted to make the plain dress, and I don’t love big collars on me – they make me look top heavy and also I feel like I’m choking all the time – so I just ‘self drafted’ a binding. That is to say, I cut a strip of fabric and pinned it until it looked like it’d be tight enough, and then sewed it on. Tres fancy, non? (How do you say ‘fancy’ in French?) It was a good thing this was how I wanted it because I would have struggled to get the collar out of the fabric I had, and the hood out have been totally out. If I’d cut the bands separate I might have been able to do some tricky cutting, but as it was I was left with about 25cm of fabric once I was done cutting.

I didn’t follow the sewing instructions, just sewed it up myself. I did glance at them and they looked very clear, with excellent diagrams.
So, I sewed it up sloooowly over that day (see, migraine). When I tried it on it looked like a SACK.


Sorry for the poor photos, I was just using my phone. Also please excuse my pants in a pile behind me. I am SO CLASSY, for reals.
I could see, when I pulled it this way and that, that most of the extra fabric was in the centre front. I tried unpicking the front princess seams and taking 1” out of the centre front when I sewed them back together. I also nipped this seam in at the waist a bit. This helped but it was still saggy baggy. There is the front piece, a side piece which wraps around, and a back piece that starts after your shoulders, so I couldn’t really just nip in the sides.

Besides, I realised, the front seam wasn’t anywhere near my actual bust. You can see the same thing in Chloe’s version here. I ended up unpicking the front piece altogether, and recutting it to take FOUR INCHES out of the front. I tapered it back out so the bit where it meets the shoulder is the same width, because I didn’t want to futz with the armholes if I didn’t have to – they were fitting ok and also armholes are the devil to futz with. I think this is just a body/pattern meeting in a weird way thing. The front doesn’t get adjusted at all with the FBA (except to lengthen it to match) and it DOES fit in the upper torso just fine, so… idk. Is it a shape thing or a drafting quirk for a body that’s not mine? Who knows. It was an easy fix, anyway.
I can see that there are significant drag lines, here. It’s not at all obvious in real life. I’m not quite sure how I’d go about fixing this – a bigger FBA, since I have reduced the centre width? Or maybe a big booty adjustment – actually I think that’s what it’s dragging on. It does hitch up slightly when I sit down, and I have to tug it down. I think, because of the three-piece construction, the back affects the front more than if it had more pieces, like the penny pinny.

Looking at this, I can see the back seam straining a little, so I think that probably is the problem. Obviously there is also a whole bunch of fabric pooling in my lower back, as well. Just for funsies. Not sure how to deal with that without a waist seam, I think I could probably narrow the back piece there, but to be honest it’s not a fitting issue I’m particularly concerned about at this point, especially on a knit dress. I’ll get to figuring out my back fitting issues once I’ve dealt with the front.

I did think about cutting it to match the centre piece of the penny pinny, because I think part of the problem is that Jasper goes out a bit where I would probably want it to go in – see comments above about it being a different shape than I would normally choose. It’s NOT a ‘fit and flare’ type pattern. I didn’t use the penny pattern piece (say that six times fast) because the penny is constructed differently (three pieces for front and back, not a front, two sides and a back), and I didn’t want to have to deal with that + adjusting the front curve if I didn’t have to. Not with a migraine.

It came out great! I am really pleased with it. It still is not a shape I am used to, and I feel a bit self conscious that I might be sack-like. But objectively I think it’s totally fine and it’s just that I’m not used to it. I didn’t finish the inside seams at all. I did end up taking 1” off the end of the sleeves because they were too long, and I wish I’d tapered them down a bit and made the cuff smaller, because it’s a bit large. And also, I discovered when I wore it yesterday, the cuffs are cut slightly off grain. Whoops. I topstitched the sleeves and neck and did the hem with my twin needle. My babylock and I still aren’t on speaking terms.

I’m not 100% sure the deep hem is the look I want but I’m going to wear it a bit and see, I can always chop it off at a later date.
I’m really happy with this make, it was a really pleasant experience. I’m keen to make a jumper with a hood and a pocket, too. I have some fleece in the stash but it’s just from spotters, I think I might wait and get something better quality because I think this is a pattern that could feel fancy and nice, I don’t want to undermine it with sub par fabric.

I also have some two-sided doubleknit I bought from the Fabric Store yonks ago that might make a nice sweater dress? It is deep stash now and I’m kind of scared to cut into it, so I’d like to get over it and make it into something this winter. I’m going to wear this dress and if I like it as much as I think I will, I’ll cut into the doubleknit.

Wow this one is great too! I am super impressed with your pattern skillz.
Very nice dress, not looking like a sack at all! Thanks for the link to that awesome FBA tute. And it’s lovely to find another sewing blog from Adelaide.
Ok, so ever since you posted this, I have been dreaming of unpacking my Granny’s amazing and fancy sewing machine and making myself the sweater version of this. And then today, I looked at it and thought “Huh. I could totally knit that”. So that’s what I’m going to do. Thank you for the inspiration!!
Oh! I’m so glad you liked it enough to be inspired by it! I hope you’ll share your knit version when it’s done!